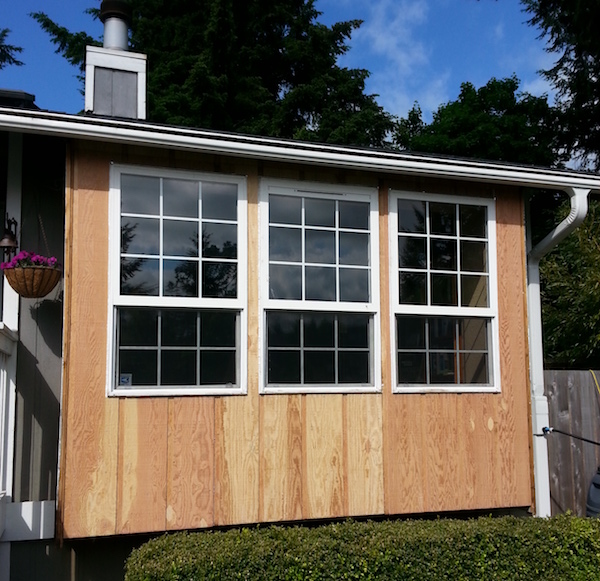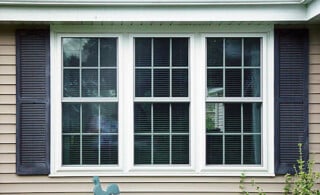
Caulking windows is one of the easiest and most straightforward ways to improve the energy efficiency of your home. Below you’ll find a list of potential areas where leaks occur, some surefire ways to test whether leaks are present, as well some basic rules for how to go about improving your home’s energy efficiency with a few bottles of caulk and a good caulking gun.
It Really Does Make a Difference
Some people estimate that an unsealed 1/8″ gap in a door or window is the equivalent of leaving a window open six inches wide for the duration of winter. With stats like that, it’s clear why setting aside a day for finding leaks and caulking windows is essential to improving the energy efficiency of your home. In fact, modest estimates figure that you’ll make the money you invest in caulking supplies back within the year in the form of reduced energy costs. After that, you’re just putting pennies in your pocket.
Don’t Wait for the Cold
Caulking windows is best done in warmer weather. You’ll likely be opening and closing a lot of windows and doors when you’re caulking windows, so planning your project for when it’s nice outside means your family won’t be shivering under a pile of blankets in the middle of winter. Also, from a practical standpoint, caulk adheres better when applied in mid range temperatures above forty degrees.
Doors and Windows
The most common features in need of attention are always doors and windows. Even if they were professionally installed, the shifting and settling of your home can create gaps that previously weren’t present. To find leaks, turn on your attic fan, bathroom fan or stove fan on a still day to create negative pressure in your home. Then make the rounds with a lit incense stick to determine where you’ve got drafts and leaks. The smoke being swept away by the compromised area will give a good indication of which areas are candidates for some window caulking.
Ready to start your window caulking?
Find ProsOther Potential Caulking Projects
When you perform your leak test, don’t neglect other areas where cold might be infiltrating either. Look for leaks around incoming pipes, chimneys and fireplaces, masonry projects, and any other area you can think of where cold air might be getting through. Once you’ve identified where you’ve got a problem, the next step is to seal it up as soon as possible.
Window Caulking Tips
There’s a few things to consider before you get started caulking windows in order to get the most out of your weather proofing project. Buy a quick release caulk gun that releases pressure when you let off the trigger. It will save you a lot of clean up compared to cheaper guns where the caulk just keeps on coming out even when you don’t need it. Also, purchase a high grade, paintable caulk whenever possible. Low-grade caulks will need to be re-applied in a manner of years, and being able to paint your caulking can be a lifesaver if you think a paint job, inside or out, might be in your future.
Check Your Home Regularly
Annual checks for leaks are recommended, since caulk can fail and the shifting and settling of your home can create new problems. Window caulking might be a big job the first year, but after that it’s a simple case of preventative maintenance. You won’t be talking full days dealing with the sticky stuff. Instead you’ll have to set aside an hour or two to hit new leaks and reinforce jobs you’ve already taken care of in the past.
If you suspect your home may be experiencing major heat and cooling loss because of being poorly sealed, you may want to consider bringing in a professional. They’ve got higher tech, more powerful equipment to help them detect leaks, and their experience in the area makes certain they can get your home weather proofed in a fraction of time it will take you to do the job.
 The Benefits of Weather Stripping
  Pros, Cons, and Costs: Double-Paned Windows
  Dual Pane Windows – Common Questions
  Common Small Repair Questions
  Smart Glass: A Solar Light Switch

Are You Familiar With This Topic? Share Your Experience.