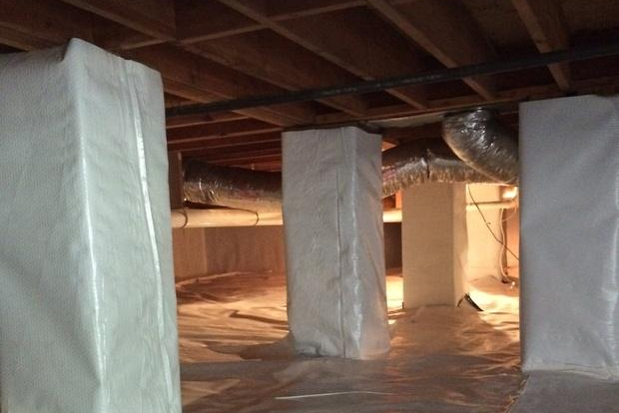
If you look at the foundation of your home, you may find small openings just big enough to wriggle through. After investigation, you’ll discover an unfinished space between the ground slab and the first floor of your home, leaving small parts of your foundation walls exposed. This is a crawl space and it can be a real energy eater if it isn’t properly prepared, or encapsulated. It can hold in moisture, causing rot and other problems. Or it can simply produce a nasty draft, causing your utility bills to skyrocket. Plus, if you find your floors are noisy, it’s probably because there’s nothing beneath absorbing the sound. Therefore, to avoid financial costs and other maintenance worries down the road, it’s essential to install crawl space insulation below the home. The cost to seal a crawl space is dependent on the size of the space and your location.
Ventilated or Not Ventilated?
That is the question. Originally it was assumed that if suitably ventilated, these subsurface areas would remain moisture-free. However, in the winter, cold air can make things rather drafty and during the summer humid air can make this open space pretty muggy with no way to remove the moisture. Therefore, oddly enough, unventilated crawl spaces are the most energy efficient. When unventilated, everything is sealed and there’s no chance for moisture buildup or drafts. So you may want to first think about sealing up this space beforehand to make the project a bit easier and to make the final result more effective.
Crawl Space Insulation
There are a few things to keep in mind before beginning the project. First of all, are you ready to do this yourself? If you have to seal up the area, it may be best to hire a crawlspace encapsulation contractor. But if you’re taking it on yourself, make sure to wear long sleeves, gloves, and protective eye gear to keep safe. Here are some other things to consider beforehand:
Placement:
The benefit of unventilated areas is that you’ll only have to worry about the foundation walls and therefore won’t spend as much money or time on labor. However, if left open to the exterior air, you’ll want to mount crawl space insulation into the sub-floor cavities as well.
Product:
Batt insulation with an R-value of 10 (unventilated) to 20 (ventilated) will do the trick since it’s cheap and easy to use, though rigid foam board works. And always use vapor barrier and lay down a ground-sheet to prevent rising moisture from below.
Pipes:
If your pipes and other ductwork are located within the house, you won’t have any worries. But if they’re exposed underneath, you’ll want to wrap them separately in crawl space insulation in order to prevent freezing or unnecessary heat loss.
Preparation:
Whether ventilated or not, you’ll always want to make things air tight. Seal up any air gaps leading into the home to avoid seepage and drafts. Also, you may want to install an access door within the home or make sure it is tightly sealed on the exterior.
Ready to start your Insulation Installation?
Find ProsFriction-Fit Batts
If you have a ventilated area and have to insulate underneath the floors with batt insulation, it may be best to use unfaced friction-fit batts. This batt insulation has what insulating professionals call lightning rods: metal rods about the thickness of a coat hanger that are stuck within the fiberglass. These lighting rods have pointed ends which stick out about two inches longer than the interior joist spaces and are installed every 18″ to hold the insulation up within the floor joists. It’s a fast, convenient, and easy way to insulate a floor from below (or an unfinished ceiling as well). Of course, you could also nail plywood or lattice boards to the bottom of the floor joists to hold in the fiberglass insulate, but it’s more expensive and labor-intensive than lightning rods (some people also use netting, but it’s costs even more money and work).
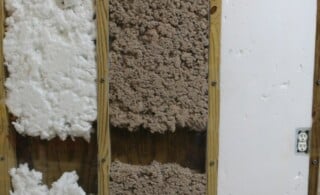 Fiberglass Insulation: A Simple Energy Saver
  Insulating a Wood Floor
  How to Spot & Repair a Sinking Foundation
  Protect Your Garage With Garage Door Insulation
  Sheet Foam

Are You Familiar With This Topic? Share Your Experience.