This is the third and final deck building article. This will take you through installing the railings, laying boards and building stairs. Don’t use this guide for covered porches. However, it uses similar board and railing installation techniques for patio and ground level decks.
Railings and deck boards are an easier project than the framing and foundation. If you’re looking to do some of the work yourself, this section is ideal. This series assumes you’ve got a pretty good working knowledge of basic construction techniques and anatomy.
On This Page:
- Tools & Materials
- Step #5: Attaching Railing Posts
- Installation Steps
- Working with Wood
- Spacing Guidelines
- Corner Posts
- What’s a Good Railing Height?
- Post Caps
- Step #6: How to Properly Lay & Stagger Wood Decking Boards
- Step #7: How to Install Guards or Handrails
- Step #8: Building Steps
- Decks with No Railings
- Meeting Code Requirements
- DIY vs. Hiring a Pro
Flooring & Railing Tools & Materials
You’ll need most of the tools mentioned in our guide: How To Build a Deck Step by Step, plus a few specifics. Always use hardware designed for treated wood like galvanized and stainless-steel nails and screws. This isn’t a comprehensive list – each unique design can warrant different materials. Consult with a professional for a more detailed list.
- Post anchors
- Brackets
- Board spacers
- Stain brush or sponge
- Stain
- Post caps
- Deck screws
- Structural screws
- Carriage bolts
Ready to start your Deck Railings & Steps?
Find ProsReturn to Top
Step #5: Attaching Railing Posts to your Deck Surface
Just beginning the DIY building project, consult the following two guides for steps #1 – #4.
How to Build a Deck
How to Frame a Deck
Installation Steps
You will want to attach the 4×4 rail posts before you install your boards. You can choose to install them either inside or outside the rim joists, but most code requirements have them installed inside. Some very small decks will use uncut posts that extend above the rim joists and around the perimeter as the rail posts. The exact configuration will depend on your designs.
- Determine the number of posts needed and space appropriately. Use the method listed below.
- Determine positions. Mark the locations before installation.
- Install Bracing. For one that don’t land directly on floor joists, you’ll want to install extra bracing to secure anchors to.
- Screw the posts to the rim joists. Use structural screws – never deck screws.
- Install deck anchor. They add strength and stability. Drill a hole and use a carriage bolt to attach.
- Install a second carriage bolt. Below the first, drill a hole for the second bolt and install it.
- Install the rest. Repeat steps 4 – 6.
Wood Railings & Posts
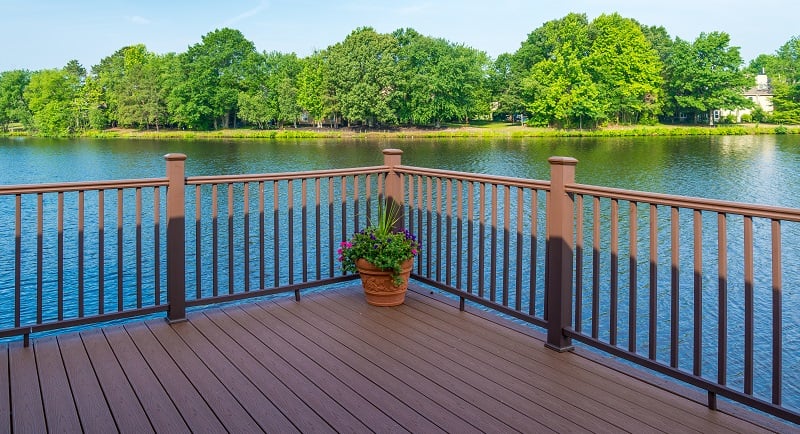
Wood is the most commonly used deck material. It’s cheap, easy to work with and looks great when installed and maintained properly. Most wood railings are 2×4’s or 2×6’s with 2×2 balusters all made from pressure treated softwoods, cedar, redwood or hardwoods.
But you have options. Maintenance free composite materials – like Trex – are available for twice the price of pressure treated pine. Trex decking installation costs between $6 and $9.50 per square foot. Most of these types come precut and ready to install.
Post Spacing Guidelines
Space posts no more than six feet apart or follow your local code requirements. You’ll always need corner posts, so install these first then measure the distance between them, divide by six and round up. That’s how many railings you’ll need, then simply space them evenly between corners and your home.
Corner Deck Posts
You’ll always need posts in each corner to attach railings. Install them first to help determine the number of posts needed between corners. When installing a pergola or awning, they can act as framing, though they will need to transfer the load to the ground. Extend them to the ground with footers for an easy fix.
What’s a Good Railing Height?
Railings should always reach at least 36 inches high to meet code requirements. However, you can go higher for architectural or privacy needs. If you’re installing something like a hot tub, run them up to six feet high and install privacy fencing.
Post Caps
Post caps are completely optional but encouraged. They keep water from pooling and soaking into wood. They can also be decorative and add lighting and a finished look.
Ready to start your Deck Railings & Steps?
Find ProsReturn to Top
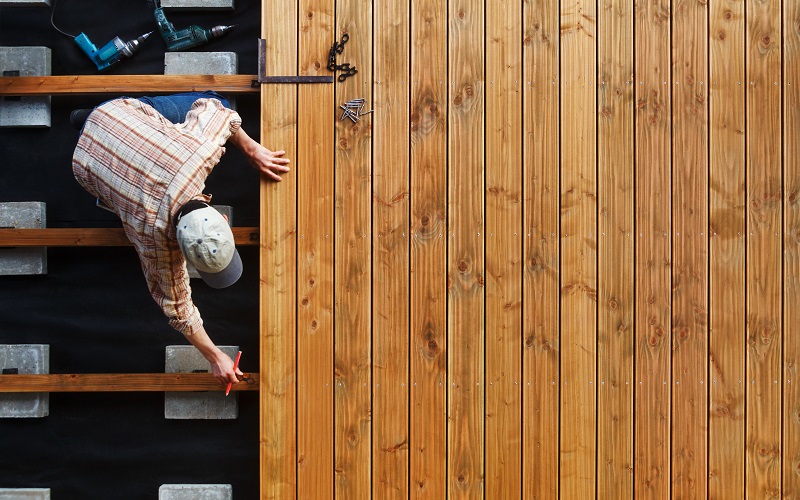
Step #6: How to Properly Lay & Stagger Wood Decking Boards
Always start your boards on the house side of the deck and work your way out. Most don’t use a staggered layout. If you want to stagger them, just cut the first board in each row a different length but make sure the length matches the joists. Install a brace if needed for the butt joint. You’ll need to notch boards for railing posts as you go.
- Stain the underside of the boards. It’s much easier to do this before installing them and makes them last longer for only about $30. There are definite benefits to under-deck staining.
- Place the first board against the house. Make sure the board is perfectly square. The first one sets the angle for the additional ones. Place it perpendicular and screw or nail the board to the joists. Install as many as necessary to finish the first row. Always install joist bracing or use a sister joist for deck board butt joints. It’s also possible to run your deck at an angle for a unique look. You’ll need to use a miter saw and possibly additional bracing.
- Using spacers to align the second deck board. If you have wood in a dry or temperate climate, it will shrink so only use very small spacers if any at all. For other materials, use tile or spacers for each board. Composite decks often come with spacers as part of the installation kit.
- Install each board aligned to the previous row. For staggered patterns, just cut the one in a row to a different length than the one before it. Make sure the length aligns with joist spacing. Always secure the butt ends of the board to a joist. Repeat this process.
- Lay the final. You may need to rip the final one with a table saw so it will fit flush to the rim joist.
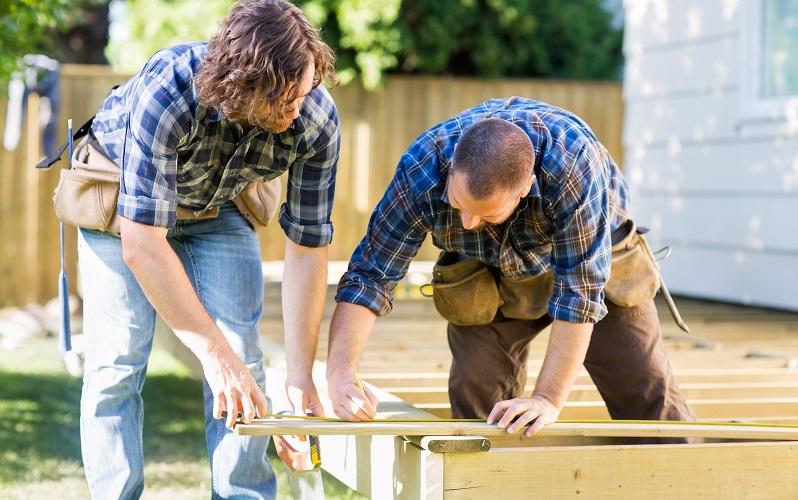
How to Ensure the Boards are Straight
Always have a perfectly square foundation and frame. Before framing, during the layout portion of the project, align your posts perfectly square to your home. Check and double check rim joists during installation. It’s straight when the rims joists are square.
Tips for Nailing
- Use outdoor rated nails. Stainless steel or galvanized. If using screws, use structural or lag ones.
- Use deck screws for boards. If you must nail in the boards, never use a hammer or you’ll ding and dent the new deck. Always use a nail gun. Rent one and practice on scrap wood.
- Always nail every hole on a metal hanger, brace or strap for structural stability.
- Use structural screws. Though more expensive, they work better in almost every situation.
Ready to start your Deck Railings & Steps?
Find ProsReturn to Top
Step #7: How to Install Guard or Handrails
- Attach Bottom Rails. The easiest way is to use a 2×4 as a spacer. Just lay the spacer on the deck and the bottom rail on top of it. Attach with structural screws, not deck screws.
- Attach Top Rails. Run them along each post flush with the top.
- Attach Rail Caps. These run along the top of the posts and top rails. Install them flush with the top. For stairs, handrails need to run continuously without interruption meaning no posts or other obstruction interrupts the handrail surface.
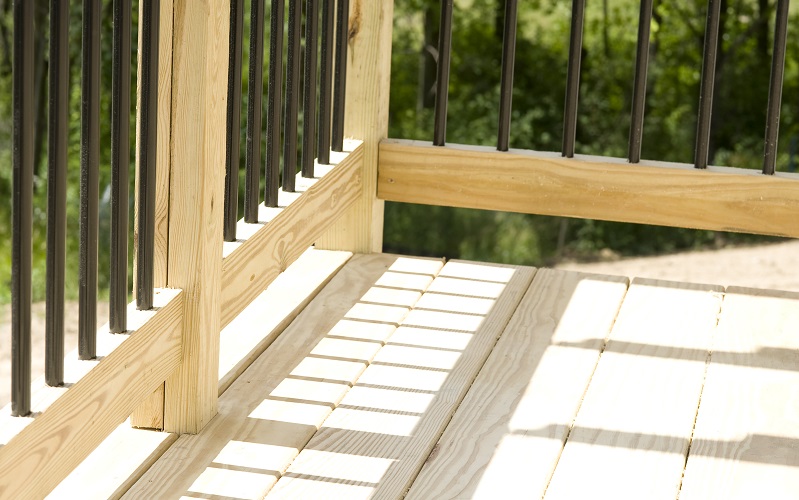
Spindles & Balusters
For a typical wood baluster there are two ways to install these. Follow these steps for easy installation.
- Place a 2×4 lengthwise against the wall or first rail post. A 2×4 is exactly 3.5 inches wide. Balusters cannot be more than four inches apart. Using a 2×4 gives you perfect alignment.
- Place a baluster against the other side of the 2×4. Make it flush with the bottom rail and install with one deck screw.
- Repeat this process. You’ll have evenly spaced balusters except for the last one next to a post.
For perfectly spaced balusters with a little more work, follow this process:
- Measure the distance between posts, divide by four and round down. That’s the number you’ll need.
- With the original measurement between posts, divide by the number of balusters. This is the distance between your balusters on center.
- Mark this distance on the rails. Do it on both the top and bottom rails. Install with the mark on the center line of the balusters.
Ready to start your Deck Railings & Steps?
Find ProsReturn to Top
Step #8: Building Steps off the Deck
- Measure and cut the stringers. Make sure to follow local code. Always measure each rise and run to be the same distance. Don’t forget to include the width of the boards when measuring.
- Dry fit the stringer and mark where the footers will go. Mark the footing locations with paint.
- Create a footer. Pour concrete footers or a pad. You can also use premade ones.
- Attach the stringer. You’ll need to attach a 2×6 brace below the area where the stairs are located. You’ll attach the stringer to this brace.
- Attach tread (steps or floor) and toe kicks. Toe kicks aren’t necessary in all places. Check your local code.
- Attach railings. Attach in the same fashion as above.
- Attach Skirt Boards. They add strength and a professional finish.
Note: For corner stairs, each one will increase in length from the one above it. You’ll also need a double corner stringer.
Decks with No Railings
Decks located above 30 inches from the ground always need railings to meet code. Any one lower than 30 inches doesn’t need one. Though if you install a railing, regardless of height, it needs to meet all code requirements.
Meeting Code Requirements
Decks follow international, national and local code requirements just like any other part of your home. You’ll need to get the correct building permits and plans to meet local codes. A few common codes include:
- All railings must be above 36 inches tall.
- The sweep space between the bottom rail and the deck can be no more than four inches.
- All stairs must have hand rails.
- Balusters need to be no more than four inches apart.
Ready to start your Deck Railings & Steps?
Find ProsReturn to Top
DIY vs. Hiring a Deck Builder
Though this is the easiest part of the building process, it’s also the part that determines how the finished product will look. You can save anywhere from $2,000 to $4,000 doing this portion of the project yourself. But before you jump in, honestly assess your skill level and then choose DIY vs. pro deck building. Poor installation affects the appearance of the finish. Hiring a professional contractor insures a professional look and a stable deck for years to come.
 Understanding Deck Construction
  Wood Deck Maintenance
  Cleaning Your Exteriors With a Pressure Washer
  Deck Maintenance Tips
  Should You Build a Deck or Hire a Pro?

Are You Familiar With This Topic? Share Your Experience.