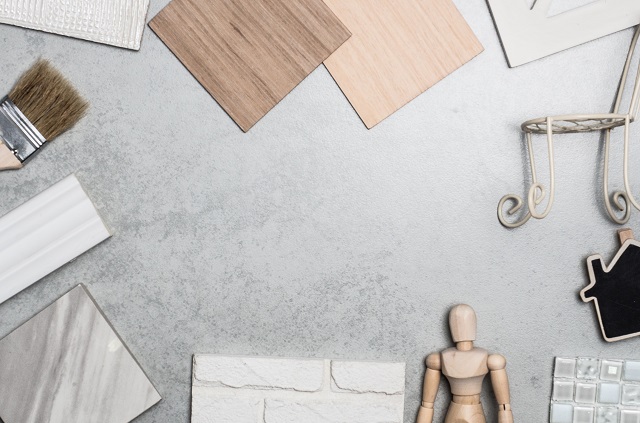
Paint doesn’t always do the trick when you’re trying revamp your room. Installing one wall of veneer is a great design solution. Veneers are thin wall coverings made from various materials like brick, tile, stone and wood. They can do wonders to anchor your design and give it an edge.
The best part is that this is a simple solo and high-impact project. In one weekend, you can take a boring wall to the next level. Here are a few popular options and a set of DIY instructions.
Brick
$7-$15 per square foot.
Real or faux brick can give your space a classic exposed brick look. It is installed in a similar way to thin stone, outlined below. Companies like Brick-It have made things even simpler by using a grid system and supplying all the materials you need.
Wood
$1-$17 per square foot.
Wood brings the element of nature into your home and can be very affordable. You can also stain or paint it however you like. Consider buying treated wood from a hardware store or wood paneling from timber companies to make sure it’s in good condition.
Thin Stone
$3-$12 per square foot.
Depending on your budget and design, you could choose either manufactured or natural stone for this veneer. Manufactured stone has come a long way and is often indistinguishable from the real thing. See how easy it is to install with these six simple steps:
Installing Thin Stone Veneer
You will need:
- Veneer material
- Adhesive mortar
- Cement backer board and appropriate screws
- Masonry saws
- Notched trowel
- Drop Cloth
- Power drill
- Ladder
- Utility knife
- Grout
- Grout bag
- Protective mask
- Safety glasses
- Use scrap pieces of wood to create space for grout.
- For slanted floors, use a leveled piece of wood along the bottom of the wall to ensure your design is straight, then remove to finish installation.
- Clean unwanted grout and mortar from the surfaces of your stone veneer before they harden.
1. Calculate Materials
Use the square footage of your wall to determine how much veneer and mortar you will need. One 5-gallon tub of mortar is usually sufficient. Subtract area of windows, but always get more than you think you need to make up for any accidents.
2. Prepare Wall
Remove obstructions, such as nails and baseboards, and cover outlets and switch plates. Dust and clean off debris. Move furniture away and place a drop cloth on the floor.
- If the wall is made of concrete, stucco or other masonry, you will be able to work directly with it.
- If it is made of plywood or sheetrock, you will need to attach a cement backer board to it. Attach the board using screws along the edges and cut space for the outlets, etc.
- For heavy materials, you may want to consider installing a wire lath to the wall before mortaring.
3. Plan and Practice
Lay your materials out in the exact form you want before you apply them, to make sure they fit. Piece your veneer together on a flat surface, such as a large slab of plywood. Use straight-edged pieces for the bottom row of your design. Leave space for grout.
4. Apply Mortar
You will only want to apply mortar a section at a time so that it remains moist throughout installation. Each section can be about 4 square feet. Start working from the bottom and apply at ½” to 1” thickness using a notched trowel. Some people prefer to put the mortar directly on the back of each stone as they place them.
5. Install veneer
Place your stones into the mortar according to the design you have mapped out. Leave edge pieces for last, mark them for cutting and use a masonry saw to correctly size them. Fit in place with mortar.
6. Add grout
Use a grout bag to fill the spaces, or joints, with grout mixture. A grout tool can be helpful in perfecting the appearance/depth of the mixture.
Choose from a $100 project using wood paneling, or a $2,000 project using a high-quality stone veneer. Either way, one wall can make a huge difference. Buy or rent a masonry saw, put on your weekend warrior gloves, and build yourself an interior accent wall by Sunday night.
 Add Custom Beauty to Your Home with Blown Glass
  The Dish on Dining Room Decorating
  Focus Factors: Hanging Framed Art and Picture Lighting
  Enhance Home Design with Decorative Leaded Glass
  The 5 Benefits of Working With an Interior Designer

Are You Familiar With This Topic? Share Your Experience.