Photo via Pixabay
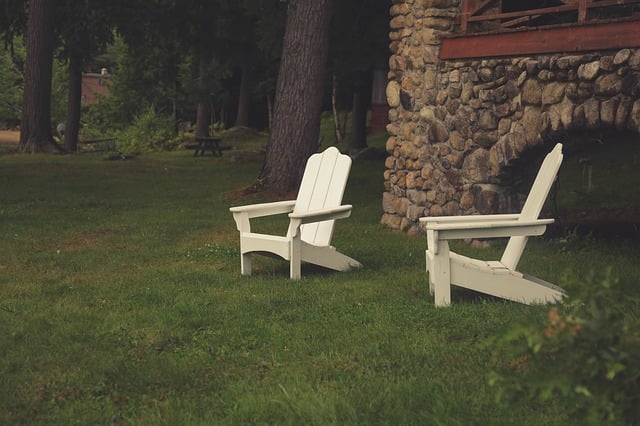
The world is a big place, and while many of us hope to explore it far and wide someday, most of us don’t have the luxury of traveling whenever and wherever we like. But what if you could study the planet we call home with a hands-on, close-up, fascinating hobby — and all from the comfort of your very own backyard?
Geological exploration can start right at home, no expertise required! This guide has everything you need to begin your backyard geology endeavor, from tools to resources for researching what’s native to your area. Whether you choose to take on this hobby yourself, with a partner, or with your child, it’s a unique, interesting opportunity to learn more about your surroundings and a terrific way to bond with another person. Best of all, you don’t even have to leave home to do it!
Why Geology “Rocks”
Knowing about local earth conditions can help you better plan improvements to your property.
- If you want to add a pond to your backyard, knowing the kind of dirt you’ll be digging and building into is key.
- Maybe you’ve always wanted to plant a large tree in your front yard, but aren’t sure which spots would be ideal or whether fertilization would be necessary.
- Perhaps you’re interested in using rocks or boulders for natural landscaping, and want to use something native to your region.
- Even making considerations for your children can call upon some geological knowledge.
Understanding the land you live on can also help you identify better ways to live. Learning about local geology will teach you the kinds of crops your area grows and when they’re in season, helping you shop smarter and fresher year-round. If you plan to start your own garden someday, you’ll know exactly the kinds of foods and flowers you can grow, and have valuable insight on helping them thrive. It could even help you shop smarter for clothes and footwear if you understand the kinds of terrain you’re up against!
Finally, picking up “rockhounding” is a great way to get your kids excited about science. It helps them understand basic concepts (like observation, examination, and cause and effect) in a more tangible way. They get to become scientists anytime they step into the backyard, and will likely become more observant of their surroundings in general. It encourages children to be more curious, ask questions, and seek out their own answers. Backyard geology also gives children an actual excuse to dig around in the dirt while still learning, which can encourage even the most skeptical of kids to at least give it a try.
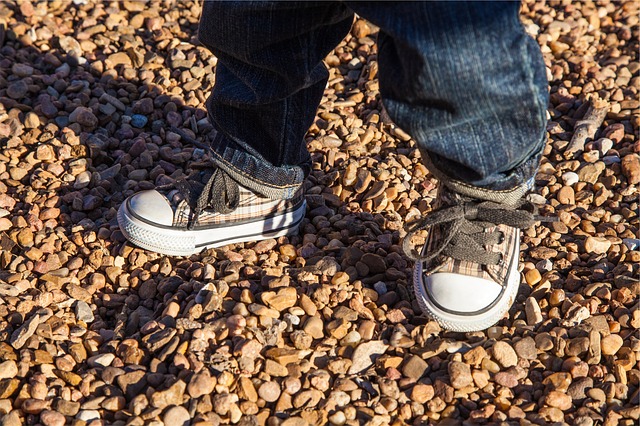
Photo via Pixabay
Finding the Tools You’ll Need and Exploring (Without Destroying the Yard)
Yet another perk of becoming a rockhound is that most of the tools you need can be found right in your shed. To cover the basics, you’ll need:
- Magnifying glass
- Iron nail or paper clip
- S. penny
- Kitchen magnet
- Vinegar
- Small glass bottle or old drinking glass you won’t mind damaging
- Small piece of unglazed ceramic or porcelain tile, or a coffee mug you won’t mind damaging
- Sifting pan
- Gardening shovel
- Small notepad and pen
- Table lighting or desk lamp
- Microscope
- Desk or worktable
If anyone has limited mobility in their hands, you can attach a wrist strap to magnifying glasses to make them easier to hold onto, and the penny can be swapped out for an old copper mug. For those with physical disabilities, make sure you to grab some old blankets, towels, or other cushioning to sit on while working. A beach or outdoor umbrella can also be a major aid in blocking out intense sun rays and keeping your work area cool during the hot summer months.
Before heading out, it’s helpful to do a little research to find out what kinds of rocks and minerals are commonly found in your area, as well as wildlife you may encounter. Your local park and recreational center may offer literature on the subject, but perhaps the easiest route is to do an internet search specific to your city or state. Be sure to also investigate any city laws about digging — especially regarding any native minerals — and remind yourself of the exact location of your home’s pipeline system. You likely won’t ever dig that deeply; nevertheless, it’s important to know exactly where everything is.
Once you have a good idea of what you’ll likely encounter, it’s time to head to the backyard!
- Keep the weather in mind and prepare accordingly: hats, sunglasses, and sunscreen are essential for sunny days, and rain boots or hiking shoes will help you navigate rainy or wet days.
- Keep your tools in a light, durable bag somewhere near the back door so it’s easy to access and ready to go. Include any rock and mineral identification guides specific to your area you’ve found
- Don’t underestimate the importance of having a paper copy — you don’t want your electronic tablet spending too much time in the heat, and the possibility of dropping it on a hard surface is especially high when rockhounding.
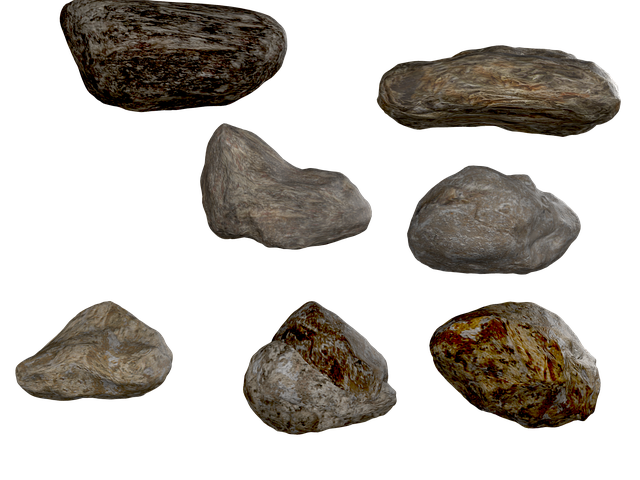
Photo via Pixabay
- Make sure your partner is aware of where you’ll begin your geological digging and exploration, especially if there is a garden or other accents to consider.
- You might want to choose somewhere somewhat out of sight to begin; with time, you’ll learn exactly how the ground reacts to being disturbed and how to fix it, but it’s probably best to pick subtle spots in the meantime.
- Your gardening shovel can help you break up the ground if you want to take soil samples to test, or to dig around specimens stuck in the dirt.
- You can start by simply gathering loose stones that you see to examine more closely later, or you can use your tools to identify characteristics as you go. First, note the specimen’s color and general appearance. Be specific about the hue when assessing the color, as this can make an important difference. Pay attention to the weight of the stone and how it feels in your hand: is it sandy or smooth to the touch?
A single rock can be made up of any combination of all kinds of minerals, so outward appearance alone can’t definitively identify a stone or mineral. The next step is a streak test, in which case you’ll need your small tile or coffee mug. Swipe the stone across the tile and note the color. If the mineral you’ve discovered is harder than the tile, it will leave a scratch.
Assessing just how tough the stone is comes next. This is done using the Mohs Hardness Scale. First try scratching the stone with your fingernail — if you leave a mark, the rock is approximately 2.5 Mohs. The scale continues in the same manner for each of the following tools:
- Penny = 3 Mohs
- Glass = 5.5 Mohs
- Porcelain (if the stone left a scratch instead of a streak) = 6.5 Mohs
The higher the Mohs, the harder the substance. And the harder a substance is, the more likely it is to be valuable. For your reference, diamonds are the hardest known substance scaling in at about 10 Mohs — just keep in mind you aren’t likely to come across diamonds in your backyard!
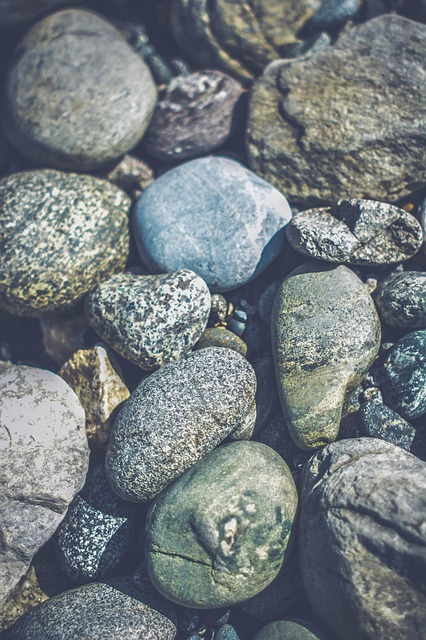
Photo via Pixabay
Checking for effervescence is another simple way to assess a specimen, and while the quality sounds complicated, all you really need in order to test is vinegar. You can pour a little bit of vinegar directly on the stone, ideally over where you’ve scratched it so lower layers may react. If you think the stone could be valuable and don’t want to risk damaging it with too much vinegar, you can instead scratch some powder off onto your glass surface to test instead.
Using a magnet to test the rock can help identify whether there may be iron mineral present, like magnetite or hematite. It can even help you identify a meteorite, though they’re typically very rare.
If you’re able to find much of a mineral all at once, or even clusters of crystals, the shapes, habits, and features will all be important. You might find it helpful to take photos or detailed notes of what you discover so you can investigate at length later, and some may even find it both helpful and cathartic to sketch their findings.
Keep a journal, sketchbook, or photo album to document your geological endeavors. Take note of weather and recent seasonal changes. You might even record the ways animals take refuge in various mineral formations around your backyard during certain parts of the year, whether as protection from heat, rain, cold, or predators.
Enjoy your hobby as often as you can, and take a travel kit so you can continue your geological exploration even away from home. Don’t hesitate to engage others in joining you. It can be a fun, educational way to spend a Saturday with the family or a unique way to spend time with a friend. You never know when you might stumble across something valuable, and the time spent together will always be priceless!
 Raising Chickens at Home
  Spring Garden Flower Tips and Suggestions
  Plan Ahead for a Better Yard
  Xeriscaping: Environmentally Wise Landscaping
  Mature Tree Care and Tree Removal

Are You Familiar With This Topic? Share Your Experience.