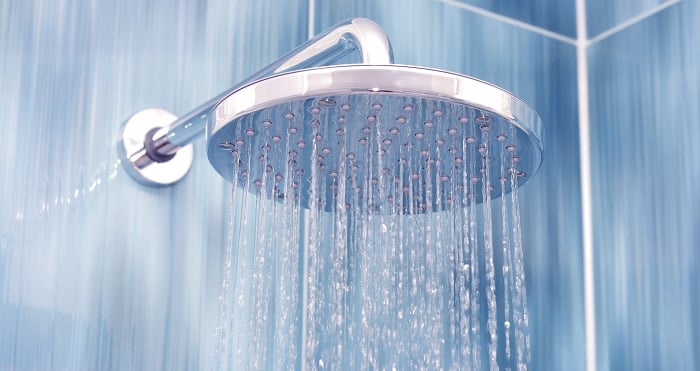
A new shower head will increase the enjoyment and efficiency of your shower. But installing or replacing a new shower head isn’t always easy. Use this guide to successfully swap out your old head. It’s important to note that this installation guide is only for fixed shower heads. Using this guide to install handheld, custom or multiple showerhead designs can cause leaks and other problems.
On This Page:
- Shower Head Installation
- Reasons for Replacement
- Changing Out a Shower Head
- Installing a Delta
- DIY or Hire a Pro
Installing a New Shower Head
Fixed showerheads usually come in wall- or ceiling-mounted designs. Once the hole for the shower head is drilled, the installation for both designs is similar. Additionally, you can use the same tools for both installations.
Tools Needed
Here’s a quick list of the tools you’ll need to complete the job:
- Groove-joint pliers
- Adjustable wrench
- Two rags
- Replacement shower head
- Shower extension
- Tooth brush
- Pipe-thread or Teflon tape
Wall & Arm-Mounted Installation Steps
- Turn off your water. Not all showers have local shut offs. It’s best to turn off your water at your home’s main. Mains are normally located in your basement toward the front of your home or near your water heater or garage.
- Clean the shower arm. Use a toothbrush to clean your shower arm’s threads.
- Install the shower arm. Wrap the end of the shower arm in Teflon or pipe-thread tape and screw it into the pipe opening in the wall or ceiling.
- Prep the shower arm. Slide the backing onto the shower arm and wrap the open end in tape. Remember to apply the tape in a clockwise direction to avoid unwrapping it when you attach your shower head.
- Install your shower head. Screw on your showerhead by hand until it’s snug. Wrap the shower arm and head in rags and use your adjustable wrench to tighten the shower head further. Many ceiling shower heads are wider than wall models. Use the nut above the head to tighten the entire unit.
Embedded Shower Heads
If you have an embedded shower head — the face of the shower head is flush with the ceiling — it’s a good idea to hire a plumber to handle the installation. This style of shower head will require opening your ceiling and re-routing pipes. The average cost to hire a plumber ranges between $200 and $500.
Installing Shower Heads in Tile and Prefab Showers
While fiberglass and tile shower surrounds differ in terms of durability and aesthetics, they won’t affect your shower head installation. But, it’s important to note that your surround’s material will impact other jobs like pipe repair or replacement and valve installation.
Ready to start your Shower Head Installation?
Find Pros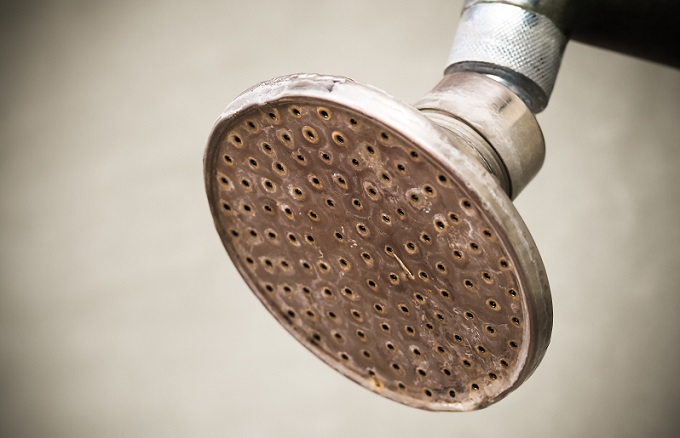
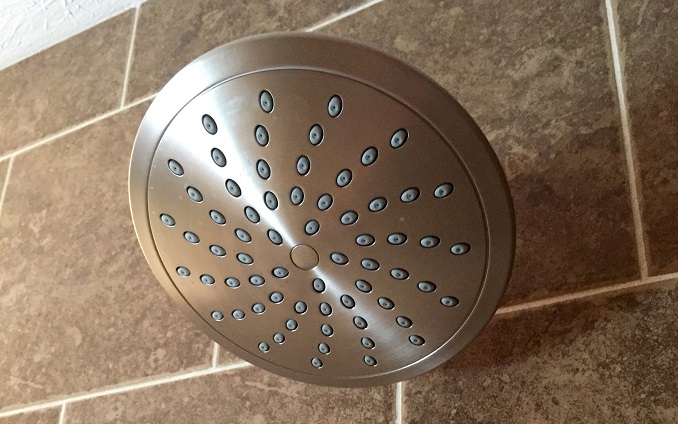
Common Reasons for Replacement
Here’s a look at several of the most common reasons to replace your shower head:
- Mineral buildup – can cause clogs and reduce water pressure.
- Age. Older shower heads can begin to rust and leak. Head deterioration can reduce pressure and cause unnecessary dripping.
- Style. Older styles can clash with newer bathroom décor, especially after a remodel.
- Efficiency. Dated showerheads can reduce the utility efficiency of your bathroom. Installing a low-flow model will help reduce your water bills.
If you notice any of these issues, it’s time for an update. While repairs are possible, it’s easier to swap out a faulty head. Many homeowners upgrade to embedded or handheld shower heads. But installing a fixed model is the easiest — and most DIY-able — option.
Ready to start your Shower Head Installation?
Find Pros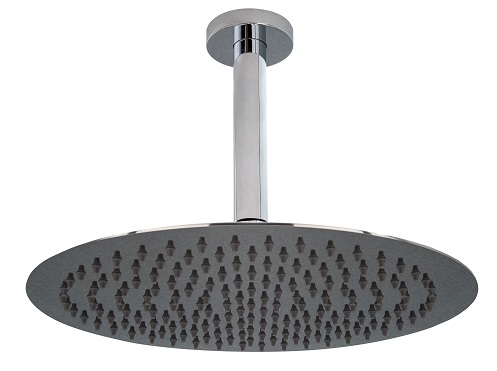
Changing Out a Fixed Wall Shower Head
Age, deterioration, clogs or style can cause you to replace your shower head. Here’s a quick how-to for removal and replacement of wall or arm-mounted heads. Removing a ceiling-mounted head may require a ladder to reach the arm. If you do use a ladder, have someone nearby to keep it steady. Falling can result in serious personal injury and damage to your shower.
Tools Needed
- Groove-joint pliers
- Adjustable wrench
- Two rags
- Replacement shower head
- Pipe-thread or Teflon tape
Remove Your Old Shower Head
- Turn off your water. Not all showers have local shut offs. It’s best to turn off your water at your home’s main. Mains are normally located in your basement toward the front of your home or near your water heater or garage.
- Remove your shower head. Place your groove-joint pliers on the shower arm and use your screwdriver to loosen the shower head. Use rags to cover your shower head and arm if you plan to keep either of these components. Be careful when working with an arm for ceiling heads as they are longer and can be more delicate.
Replace Your Shower Head
- Prep the shower arm. Slide the new backing onto the shower arm and wrap the open end in tape. Remember to apply the tape in a clockwise direction to avoid unwrapping it when you attach your shower head.
- Install your new shower head. Screw on your showerhead by hand until it’s snug. Wrap the shower arm and head in rags and use your adjustable wrench to tighten the shower head further.
Ready to start your Shower Head Installation?
Find ProsInstalling A Delta Shower Head
Delta shower heads are common in many homes. Fortunately, installing fixed Delta shower heads is no different than any other brand. Additionally, many Delta wall shower heads come with a metal backing that won’t break in the event of over tightening. If you have an embedded or handheld model, it’s best to call a pro. These designs can require some additional work.
DIY or Hire A Pro?
Installing or replacing your shower head can be a simple DIY job. Regardless, it’s best to call a pro if you’re unsure about any part of this job. Mistakes can lead to reduced efficiency and leaks.
 How to Repair, Replace and Install Bathtub Faucets and Shower Valves
  Toilet Installation – Learn to DIY or Hire a Pro
  How to Install a Removable, Handheld Shower Head
  Corner Bathroom and Kitchen Sinks
  Customize Your Toilet with a Bidet Faucet

Are You Familiar With This Topic? Share Your Experience.