Reviewed by Bob Tschudi,
Expert Home Building and Remodeling Contributor.
What Are Replacement Windows?
A drop-in window replacement is when a homeowner replaces the glass section while keeping their existing frame. There are a couple of steps and considerations involved in this process. The guide below will help you determine what you need to know before making a purchase and whether a drop-in window replacement is right for you.
On This Page:
- Measuring
- Purchasing the Window by Type
- Tools & Materials
- Removing the Old Window
- Best Way to Put in Replacement Windows
- Installation Considerations
- From the Interior
- From the Exterior
- Replacing on an Old House
- Working on Brick Siding
- Room vs. Basement Windows
- Sealing
- Window Glass
- Replacing the Frame
- DIY vs. Hiring a Pro
Measuring
Unfortunately, measuring a window for replacement is not as easy as it sounds. If you just check the size of the glass that you can see, your new pane will be too small. If you determine the size of the whole frame, then the new glass will be too large. To figure out what the size of your new window should be, follow the below steps. If you hire a pro, then they can help you by measuring the window, saving you the following procedure.

- Find the beading, or sections of wood or plastic which overlap with the glass. These segments are what hold the window in place.
- Determine where the outer edge of the beading is. You need to know the beading because the glass will go inside of it, holding the window in place.
- Measure horizontally from one outer edge to the other.
- Repeat steps 1 and 2 for the upper and lower sections of the frame.
- Measure vertically from one outer edge to the other.
- Deduct 1/8 of an inch from both of your measurements, to allow room for the frame to expand without cracking the glass.
Your measurements will then tell you the size of your new window. You can often buy a standard replacement window which will fit the frame. Many retailers sell windows in standard sizes that you can purchase without ordering custom glass.
To get a replacement, you also need to understand the measurement notations. The notation is written as four numbers. The first two measure the window width, while the second two are the height. These two pairs represent the length of each section in feet and inches. So, the total number is: (width)(height).
A 2030 window is a piece of glass which is 2 feet and 0 inches wide and 3 feet and 0 inches in height, part of which will be in the beading. To find your notation, take your measurements from the steps above and convert them into inches.
For example, let’s say your new numbers are:
- Width: 32 in.
- Height: 36 in.
In window measurements, it’s always width first, then height, and the code is number of feet followed by inches. So, a width of 32 inches is 2 feet, 8 inches, or 28. The height is simply 3 feet, 0 inches, or 30. You would specify/order a 2830 window.
- 2830
Now that you understand the system, here are the most common replacement window sizes that you can find at hardware stores:
- 2020
- 2030
- 2838
- 3838
Purchasing the Window
There are numerous types which you can purchase and install throughout your home. Below are some of the most common designs and whether replacing one can be a DIY project.
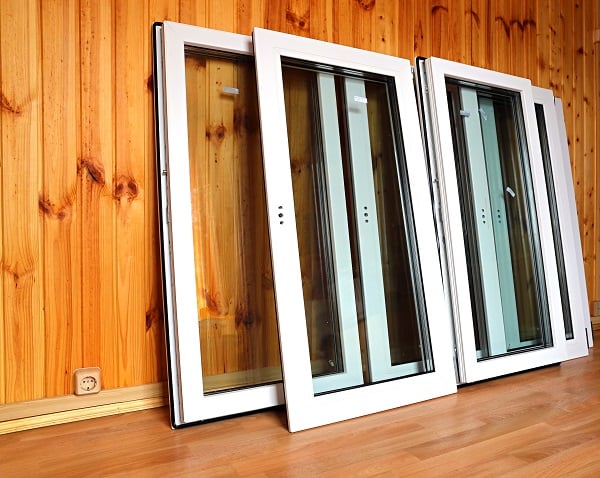
- Double-pane windows: Large, beautiful, and frequently energy efficient. Replacing them by yourself, however, is a major risk. This is one project where you will need some experience or assistance because of the size of the glass and the possibility of breakage.
- Bows & Bays: Can be done as part of a DIY project if you have the proper tools.
- Wooden or Vinyl: Some extra work goes into redoing these windows, so you may need a professional.
- Casements: Have become increasingly popular, and it’s easy to see why. A simple replacement is a DIY job, but if you want a specialty like an environmentally-friendly glass, then you should contact a professional.
- Egress: Simple escape routes and can be a DIY project.
- Garden Windows: Can be DIY, so long as the glass is sized correctly.
- Sliding Windows: Don’t need any extra steps and can be DIY.
- Picture: More complicated because of their multiple panes, and you might need a professional.
- Thermal Replacements: Remain an energy efficient option, and one with a simple installation process.
- Green Options: You need to be careful with environmentally friendly products because a poor installation renders them ineffective. Calling a contractor is highly recommended.
- Tempered Glass: Windows on stairways or within a short distance of bathroom tubs/showers must be tempered (laminated with plastic similar to car windshields) to meet most building code requirements.
Replacing your windows can help you overcome damage, but it’s also a beneficial way to save money and energy from heating and cooling your home. You can also redo the frame and glazing to find one that suits your style. There are many more types to choose from today than there were twenty years ago, and it’s important to research each one to determine which works for you. Speaking to a window professional can help simplify the process and point you in the right direction if you feel over your head.
Ready to start your Window Replacement?
Find ProsReturn to Top
Tools & Materials
You need very few tools for installation. The most common ones are:
- A scraper
- Glazing compound
- Safety goggles
- Gloves
Besides those four items, your biggest assets will be your care and patience. If you hire a contracting company, they will bring all the necessary tools. Some service professionals can also check the size of your frame and bring the right size glass, meaning you don’t have to go through the process of measuring it yourself.
How to Remove a Window
This section will tell you the proper way to remove a window, as well as some of the preparation required for the procedure.
- Clear plenty of space for you and other workers to move around.
- Move furniture away from the opening.
- Wear safety gloves, goggles, and potentially a dust mask to avoid hurting yourself.
- Using a hand dryer or heating implement, soften the glaze holding your old window in place.
- Remove the glass, binding, and jamb and clean away any glaze residue around the frame.
Best Way to Put in Replacement Windows
If you need a simple replacement, it can be as easy as removing the old glass and putting in the new pane. The simplest method is as follows:

- Once you have a replacement, gently insert it into the frame.
- Use a glazing compound to fill the frame.
- If needed, apply an additional agent for weather protection.
- Allow the materials to dry overnight.
Installation Considerations
Sometimes the process won’t go smoothly. The below scenarios require some extra steps and considerations during a replacement. “The replacement of exterior windows must be done carefully,” says Bob Tschudi, a Raleigh, NC-based GC. “There are many things that can go wrong, and you want to mitigate the collateral damage. Regardless of how careful you are, the interior of the house suffers the most damage, but a good professional will make it look as if nothing even happened.”
From the Interior
Do NOT install a window from the interior without something to secure you in place to stop you from falling out of the opening. There aren’t many other considerations in this scenario aside from being cautions and safe.
From the Exterior
If you need to replace a window on a higher floor, it’s better to do so from the outside. Make sure you are secure in place and take extra care to not damage the frame. Hiring a window installation pro is recommended for safety when working from a ladder.
Replacing on an Old House
A lot of old houses do not have level frames. Double check your measurements before you order the part, or consult with a contractor experienced in working on older homes.
Installing on Brick/Brick Veneer Siding
The process does not change since you’re not working with the frame, just the panes.
Kitchen, Bedroom & Living Room vs. Basement Windows
There aren’t many differences between the rooms in which you replace windows, but the basement is a special case. Many egress windows come with extra layers of protection to stop flooding or moisture damage. Double check your area’s policies and whether you need to apply layers of plastic, laminate, glazing, or putty.
Sealing
To seal a window, homeowners usually need to apply weather stripping or a similar product. If you’re replacing the glass though, the glazing process should already seal it in place and prevent energy and heat leakage.
Ready to start your Window Replacement?
Find ProsReturn to Top
Replacing Window Panes
Replacing just the pane costs most homeowners just under $300. The process is all about finding the right material for the job. Construction and hardware companies make multiple varieties that can improve your strength or energy efficiency. Single panes are inexpensive, but double panes are harder to break, and energy can’t leak out. To simplify the process, talk to a professional installer or handyman to determine what your window can handle, if you should replace the whole window, and what your energy needs might be.
The installation process for a single pane is often the same as an entire window. Some older models will require you to add a layer of putty around the edges of the pane to ensure it sticks, so check your other sections to see if this step is necessary. A professional can also give you this information.
Working with the Frame
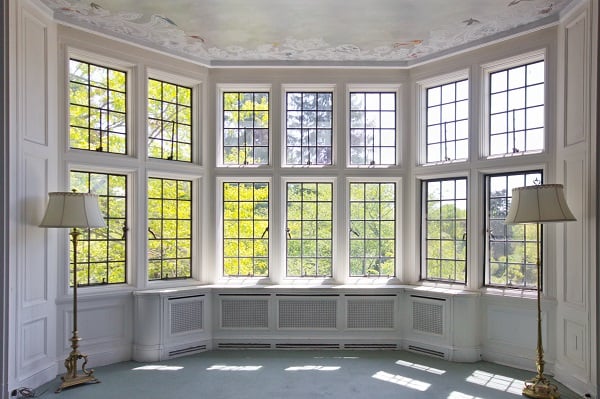
If you want to change the size of your window, you will need to replace the frame. You might also need to do this if your frame is crooked, as measuring a new pane will be difficult. Replacing the frame is a long process that requires a fair amount of manpower and tools. To avoid damaging your home, make sure to read up on all the steps and potentially consult a professional for advice.
Ready to start your Window Replacement?
Find ProsReturn to Top
DIY vs Hiring a Pro
As with other projects, one of the main reasons homeowners DIY a project is to save money. Doing this project yourself will be less expensive. On average, a professional window replacement job can cost anywhere from $300 to $700 depending on the complexity of the project. If you do it on your own, you only need to pay for the window and the glazing compound. This can range anywhere from $100 to $700, which is much cheaper.
Unfortunately, this leaves you with a lot of responsibility. You need to learn the language of window producers, and you’ll need to determine what suits your energy and aesthetic needs. Hiring a window professional can be beneficial because you’ll have someone who has the knowledge and know-how in this field.
A professional company will also handle the many hours of hard labor involved in replacement. It might not seem like it, but it takes a lot of strength, energy, and backbreaking work to insert a new pane or full glass. If you’re not ready for this, you could hurt yourself.
Ultimately, it’s your decision about whether to DIY or hire a professional. Remember to evaluate your proficiency and what risks you’re comfortable with, and don’t overdo it.
 Pros, Costs & Cons: Egress Windows
  Storm Windows: An Airtight Solution
 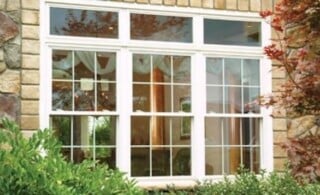 Replacing Single and Double Pane Windows
 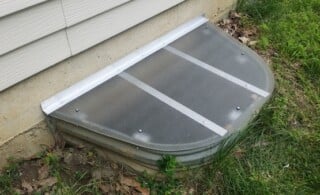 Window Well Covers
 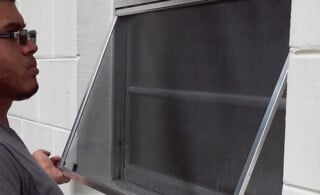 Installing Window Screens

Are You Familiar With This Topic? Share Your Experience.