
Tile installation is one of the most commonly undertaken home improvement projects primarily because tile can be used for so many different purposes. Because of this, the preparations you will want to undertake prior to your contractor arriving will depend on the nature of your undertaking. Whichever type of tile installation you are about to take on, be it flooring, countertops, a shower or tub, or more decorative applications such as walls and murals, here are some helpful suggestions for steps you can take before hand to help get things started smoothly.
Clear the Work Area
Regardless of the type of tile project you are about to undertake, you’ll want to clear out the work area ahead of time. If you’re installing a new tile floor, clear out all the furniture in the area as well as any other items you may need during the time your flooring installation will be taking place. Once the tiles are set in mortar or thinset you will not be able to walk on them for several days, so anything left in that area will be off limits until everything sets up and is usable again. Removing all obstructions goes for countertops, showers and tubs as well.
For tile counters in kitchens, remove all kitchen utensils, toaster ovens, microwaves and the like, and in your bathroom be sure to clear the area of shampoo, toothbrushes, soap dishes, even the shower rod and curtain so your contractor doesn’t have to waste valuable time (and money) on these menial tasks. Moving larger appliances and fixtures, such as refrigerators, ovens and toilets, as well as removing doors, will have to be done as well, though it’s understandable if you?d rather leave this to the pros.
Climate Concerns
If at all possible, you want your home to have a relative humidity of 30% to 70%. High humidity can slow the curing time and delay the progress of the project, while low humidity can lead things to dry out too fast and cause the mortar to crack. The other step you’ll want to take before any tile installation is to make sure the room the tile is to be applied in has a room temperature of between 60 and 90 degrees for 48 hours prior to installation. Low temperatures below 50 degrees will slow the drying time, which will delay the application of grouting and can also lead to cracked tiles later on.
Ready to start your tiling project?
Find ProsIf You’re a Go-Getter
If you feel like undertaking a project of your own, you can cut your costs, and the contractor’s workload, by removing pre-existing material yourself. Laying tile requires skill and know-how to ensure the installation lasts, but removing moldings and tearing up old flooring or other surfaces can be done by anybody with a little sweat and determination. Be sure to check with your contractor ahead of time, however, as tile can be laid over some materials without having to remove it prior to installation.
Traffic Flow
Since a tile installation is by nature a messy job involving grout and mortar, and since most installations will take place inside your home, it’s a good idea to anticipate where high traffic areas will be and take steps to protect the flooring and furniture in those areas. Lay strips of carpet in high traffic areas to provide a walkway and protect the floor, and cover furniture and other valuables that are along the most used routes. Also, consider laying down a doormat at heavily-used entryways so your contractor and crew have a place to wipe their feet when entering your home from the outside.
Final Considerations
Your work ahead of time to get things ready for the job will be duly noted by any contractor worth their salt. However, once the project gets rolling, the biggest help you can offer is to get out of the way and trust your contractor to do a great job.
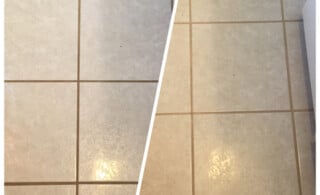 Cracked Grout: Causes, Repair & Replacement
 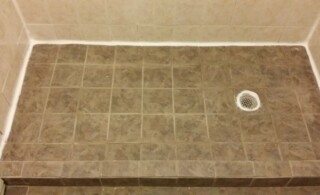 How to Re-Grout Tile: A DIY Guide
 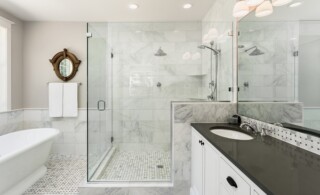 How to Build a Custom Tiled Shower Pan
 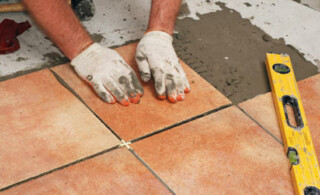 Drying Time for Tile
 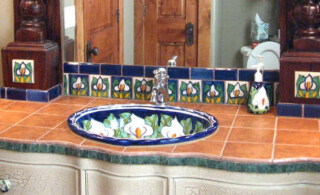 South of the Border Feel with Talavera Tile

Are You Familiar With This Topic? Share Your Experience.