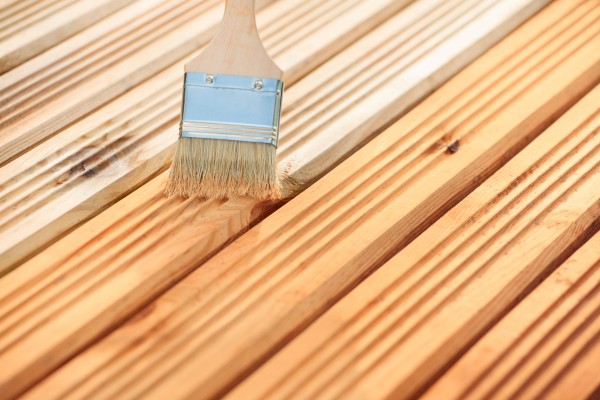
Not all staining is simple. Learning to stain wood can take some practice – and it’s sometimes best left to the pros. Use this guide to help you decide whether you’ll DIY or hire a guy.
Materials Required:
- Item to stain
- Sander
- Stain
- Coarse-grained sandpaper
- Rag or paint brush
- Polyurethane seal and gloves
- Drop
Steps for Staining Wood:
- Clean the surface using a rag.
- Sand and prepare the surface to make it smooth.
- Brush a rag or a lamb’s wool cloth over the stain to ensure even distribution.
- Start at the center of the surface, spreading the stain evenly. Go with the grain of the material across the entire selection.
- Let the stain dry.
- Once the stain is dry, apply a finish such as a polyurethane seal to protect the wood from wear and tear. You’ll want to apply two coats.
HomeAdvisor Tip:
When sanding, use 220-grit sandpaper or higher so that you don’t scratch the wood as the applied stain will highlight any scratches.

Applying a wood stain is a great way to finish up a woodworking project. Wood can even be re-stained to give it new life and a fresh appearance. Here are some staining tips that will help you add the right finishing touch to your woodworking project.
Staining Wood by Type
First, you have to identify the sort of wood you are working with. If you aren’t certain, here are some guidelines that can help distinguish between the two basic types:
- Softwood: This includes pine, cedar and most fruit woods. Fir is also considered a softwood, though it is one of the hardest in this category. Blotchy patterns and an uneven wood grain are the hallmarks of softwood varieties. A stain will help bring out these natural characteristics in an appealing way.
- Hardwood: Ash, elm, birch, walnut, beech and oak are all traditional hardwoods. Aspen and boxwood are also included in this category though they are relatively soft. Hardwoods have a denser, finer wood grain pattern that results in a richly colored stain.
How To Apply Wood Stain
Preparing the Surface
- Sand the surface: Choose a piece of sandpaper with coarse grit — look for sandpaper labeled 80 or so. Sand with the wood grain, not against it.
- Use a damp cloth to remove dust: Then switch to a fine grit sandpaper (200 or higher) and repeat, also sanding with the wood grain.
- Apply mineral spirits to a rag and wipe the entire piece: This will bring out the natural color variation of the wood.
- Apply wood conditioner with a rag or sponge: This prepares the surface to absorb the stain evenly.
Finishing the Surface
- Wear gloves when working with wood stain products: This will help protect your hands.
- Make sure that stain products are mixed thoroughly: Pigments should be evenly distributed throughout the matrix.
- Use a clean cloth, rag, or sponge to apply the wood stain to the working surface.
- Apply evenly in the same direction as the wood grain: Use long strokes to cover the entire length in one movement.
- Wait 15 minutes for stain to fully absorb: Wait 5 minutes or longer if you want a darker stain.
- Allow the piece to thoroughly dry on a flat surface for 6 to 8 hours.
Staining wood is a simple way to add a touch of custom beauty to all kinds of items. The right tools and the right technique will help you get great results.
No Comments Yet
Sorry, comments for this entry are closed at this time.

