Having properly sealed windows in your home can offer many benefits, including maximizing your curb appeal. If you’re looking to repair a window or two in your home, it’s important to know what window glazing is before getting started. Proper reglazing can help repair any deterioration and more efficiently contain the heating and cooling energy in your home.
As a result, reglazing can help you save money on your monthly utility bill, but improper installation can result in you paying even more, especially if the window isn’t sealed correctly. To ensure your new windows are glazed properly, consult with a local window installer.
On This Page:
What Is Window Glazing?
Window glazing is the process of putting hard putty around the exterior of a window to create a protective seal. The putty is placed between the exterior of your home and the window glass. The glaze protects the inside of your home from outside elements. Making sure your windows are leak-free is an important part of proactive maintenance, as the glaze can crack or decay over time. It’s helpful to hire a local inspector to check the status of your windows every one to two years.

It’s common for older windows to need reglazing, especially if they are at least 30 years old. If done correctly, you should only need to reglaze your windows every 10 to 15 years. If you aren’t sure about how old your windows are and whether or not it’s time to reglaze them, consult with a local pro.
Depending on the age of your windows, you may need to consider replacing the windows entirely to help lower your home’s energy costs. The cost of the window replacement will depend on the type of window you want to replace, but it can potentially add more value to your home. You may need to build a custom window to fit the rest of the home.
Why Window Glazing Is Important
Window glazing is used to repair weathered or old window panes and to protect your home from outside heat and cold. Having glazed windows can help protect from potential moisture damage, possible mold growth, and outside insects.

The glaze prevents the heat from escaping outside your home by creating an additional protective barrier. Although it can take some time to repair each window, it’s a worthwhile investment. The loss of heat through your windows is responsible for 25 to 30 percent of cooling and heating energy use.
How to Glaze a Window
Glazing a window takes patience and attention to detail, but it only requires a few steps. It’s important to take your time with each step, as glass is extremely fragile and easy to damage. If you want it to be done properly, an alternate solution is hiring a pro to get the job done.

Before glazing any windows, gather the following materials:
- Putty knife
- Razor knife
- Glazing compound
- Paint scraper
You can choose between using a razor or a knife for your project, but it’s useful to have both on hand depending on how fragile the window is. The thinner the window glass, the more potential there is that it could break or crack.
1. Examine the Condition
Before starting the process of reglazing your window, examine its condition. What type of window is it? How long has it been since the window was last glazed? It’s also helpful to know if you have a single or double-pane window, which you can figure out by seeing if there’s an insulating gap in between the panes.
Inspect the exterior of the window to see if it needs small touch-ups on cracks, or if the window glazing putty needs to be fully removed. This will also help to tell you how much putty you need to purchase before starting the process of glazing.
If it’s too worn down or damaged to repair, like severe cracks in the frame and glass, you may need to consider replacing the window.
2. Remove Old Window Glazing
Take your time to gently remove the rest of the glazing. If it’s too difficult to remove with just a scraper, take a heat gun to the glaze to make it more pliable and easier to scrape off. It’s important to be careful by wearing protective gloves when removing old glaze on the existing window or wood framing.
- First, remove the window sash: Start by removing the thin pieces of wood, also known as the window stops, that are placed in the interior part of the window. Typically, these are set in with multiple screws to keep them in place. If it’s an older window, these stops may be painted or made of a different material, so it’s best to take a small razor or knife to cut through the paint.
- Then, remove the old glaze: Once you’ve removed the window sash, you will start to remove the old glazing. Old glazing has a white hardened putty or chalky texture and is not easily chipped like old paint is. To do this, take a paint scraper or knife to remove any loosened glazing. After that, you should be left with just glazing on the outside wood and window glass.
3. Re-Examine the Frame
Before reglazing the window, you should examine the window frame. You can use two-part wood epoxy to fill in any fine-line cracks or gaps in the wood. Once the epoxy is placed into the cracks, you can sand it down to match the color of the wood frame. If you have a non-wood frame, you don’t need to worry about using epoxy.
You can also choose to use primer on the bare wood on the inside of the frame. Primer acts as just another seal for the window. However, the glaze itself can also act as a barrier between the frame and the glass, so it’s not necessary to complete the added step of priming when you’re dealing with materials like vinyl.
Tip: It’s not recommended to use two-part wood epoxy as an alternative to the window glazing putty since it doesn’t offer a strong seal for the window.
4. Re-Examine the Window Glass
If the window you are planning to reglaze is older, it’s more likely to have hair-line cracks on the edges of the glass.
Measure for the new piece of glass while leaving about one-sixteenth of an inch of free space around the edge. You want the glass to be able to fit back into the wood frame without being crammed in. Having a bit of extra room around the glass will allow more space for the window glaze to sit and hold.
To set the glass back into the frame, put down a thin layer of the glaze onto the wood window frame and gently place the glass piece back onto it. To secure the glass, lightly push down on the glazed areas with a small putty knife or scraper.
If you do not see any damages to your window or do not want to replace the glass, then you can move on to the next steps in reglazing your windows.
5. Reglaze the Window
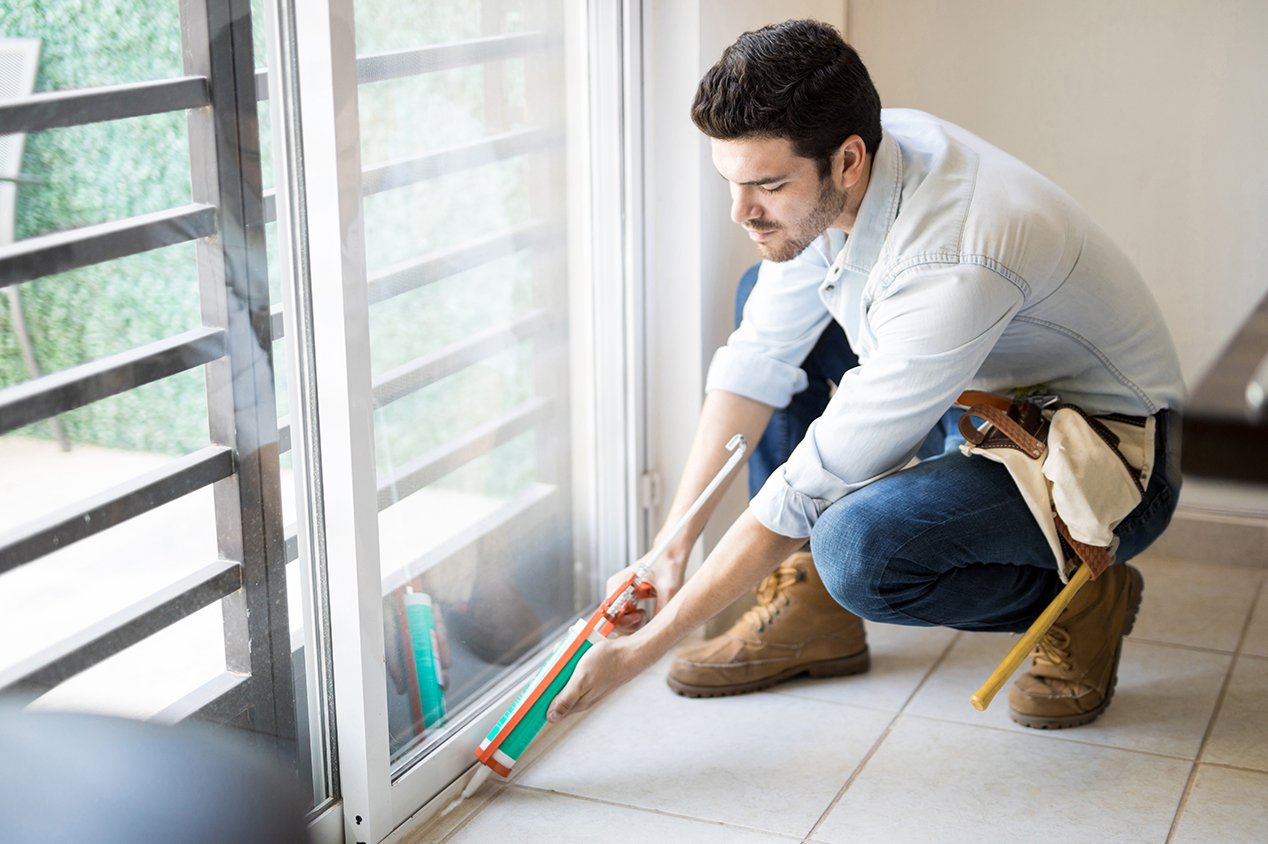
Now you should be ready to apply the new window glazing putty onto the window frame. You can find window glaze at any local hardware store. When reglazing a window, it’s better to use window glazing putty versus caulk.
Although both are used to seal strong gaps in house openings, caulk is primarily used for doors or vents, rather than windows. It’s not recommended to use caulk as an alternative for window glazing putty, as it doesn’t provide the same benefits as glazing putty.
Using protective gloves, take a small amount of putty, roughly the size of a golf ball, and work it in your hands for one or two minutes to ensure it’s at least at room temperature. Then, roll out the putty in a snake-like shape and work it with your hands into the edges of the windowpane.
6. Tool the Window Glaze
Once you’ve laid the rolled-out putty into the windowpane edges, shape the glazing.
- Lay out the window glazing putty: Take a putty knife to press the glazing putty into the window glass and wood frame and then smooth it out. Press the putty by pushing the putty knife into the wood frame.
- Smooth out the putty: Once you have applied all of the glazing putty, take the putty knife and push it gently at an angle around the glazed edges. This will allow you to remove any excess glazing putty.
- Remove any excess putty: The easiest way to remove the excess glazing putty is to push it towards the middle of the window when making passes around the window edges.
7. Paint the Glaze
Once you’ve finished glazing the window, you’ll need to wait at least a week before painting the glaze to allow it to fully harden. Use an oil-based primer to paint onto the window glazing. Be sure to also paint about one-sixteenth of an inch onto the window as well to keep it fully sealed.
You can also add window glazing tape between the window glass pane and the sash for an extra layer of protection from possible water or outside air damage. A similar option is window glazing bead, which is a vinyl strip you can place in your window frame to act as another protective shield.
Window glazing can add value to your home, but needs to be done correctly to last over a decade. If you aren’t comfortable with this DIY project, get in touch with a highly-rated window professional who can help you get the job done right. With HomeAdvisor as a liaison between you and the window experts you hire, you don’t have to worry about verifying if you have a reputable team of pros.
 Pros, Costs & Cons: Egress Windows
  Storm Windows: An Airtight Solution
  Replacing Single and Double Pane Windows
  Window Well Covers
  Installing Window Screens

Are You Familiar With This Topic? Share Your Experience.